ActiveMQ Network of Brokers with HA

ActiveMQ has two mode of configuration, a Network of Broker mode and HA mode. Network of Brokers help in distribute the loading among the network members. It is done by a client randomly connect to one of the network member, the member is responsible for resolving queue content from the producer queue.

In HA mode, they are using either a locking file (KahnDB) or locking DB (DB exclusive lock) approach. It is using a master-slave approach. When the master obtains the lock, others turns to slave mode and regularly poll for the availability of the lock. If the master goes down, the lock will be released and others will race for it.

I have tested a setup with a network of two members, and each member has the corresponding HA master-slave pair.

The configuration can be found in the following GitHub

https://github.com/jimmysyss/activemq-master-slave-settings

To test the ActiveMQ, we can use ActiveMQ producer and consumer command to test with it.

xxxxxxxxxxxx

xxxxxxxxxxxx


Some tricks in SSH

In Ubuntu, it is lack of unified Remote Desktop Solution like Windows. There are many other solutions VNC and FreeNX.

X11 may come to rescue in case that you need to urgently connect to a Linux machine

ssh -X -C user@

We can use SSH as a Sock Proxy server, which is so called VPN for the poor.

ssh -D 5051 -C user@

Python 3.5 connects to MSSQL via SQLAlchemy

We may need to connect to DB for some handy tasks, like simulating response, DB house keeping and some other routine tasks.

In Python, there are several ways to connect to DB. An well known approach is using ORM, similar to JPA in Java.

My task is to connect Python to MSSQL, the technology stack is as followed.

– Python
– SQLAlchemy
– PyODBC
– UnixODBC
– tdsodbc
– FreeTDS
– MSSQL

First of all, we need to install all the relevant linux library via apt-get

sudo apt-get install freetds-dev freetds-bin tdsodbc unixodbc-dev unixodbc 

And then install the following packages via pip3

pip3 install sqlalchemy
pip3 install pyodbc

After that, we have to configure the TDS driver, modify /etc/freetds/freetds.conf , add the following section

[MSSQL]
        host = 10.168.10.160
        port = 1433
        tds version = 8.0
        client charset = UTF-8

And then configure the FreeTDS driver in ODBC driver, /etc/odbcinst.ini

[FreeTDS]
Description = FreeTDS
Driver = /usr/lib/x86_64-linux-gnu/odbc/libtdsodbc.so
Setup = /usr/lib/x86_64-linux-gnu/odbc/libtdsS.so
FileUsage = 1
CPTimeout =
CPResuse  =
client charset = utf-8

Finally, we need to configure the ODBC instance in /etc/odbc.ini

[MSSQL]
Description = "test"
Driver = FreeTDS
Servername = MSSQL
Port = 1433
Database = my_mssql_db
Trace = No

Create a new python script file to test the connectivity

import sys
import sqlalchemy

def main(argv):
    print(sqlalchemy.__version__)
    eng = sqlalchemy.create_engine("mssql+pyodbc://my_mssql_account:hello123@MSSQL")
    with eng.connect() as con:
        rs = con.execute('''
            select * from xxxx
        ''')
        data = rs.fetchone()
        print(data)

if __name__ == "__main__":
    main(sys.argv)

DONE!

Getting Logitech Optical Marble Mouse works in Ubuntu

Marble mouse doesn’t comes with a wheel, which makes it not quite usable in modern OS. By following the steps, you will add a button mappings for the little left button(8) so that it can emulate the middle button and emulate Wheel Button

Add a new file /usr/share/X11/xorg.conf.d/50-marblemouse.conf

The content is as followed.

Section "InputClass"
    Identifier      "Marble Mouse"
    MatchProduct    "Logitech USB Trackball"
    MatchIsPointer  "on"
    MatchDevicePath "/dev/input/event*"
    Driver          "evdev"
    Option          "SendCoreEvents" "true"

    #  Physical buttons come from the mouse as:
    #     Big:   1 3
    #     Small: 8 9
    #
    # This makes left small button (8) into the middle, and puts
    #  scrolling on the right small button (9).
    #
    Option "Buttons"            "9"
    #Option "ButtonMapping"      "1 8 3 4 5 6 7 2 9"
    Option "ButtonMapping"      "1 9 3 4 5 6 7 2 8"
    Option "EmulateWheel"       "true"
    #Option "EmulateWheelButton" "9"
    Option "EmulateWheelButton" "8"

EndSection

Connect to Onion IRC with Tails OS

Onion IRC is a education channel under #opNewBlood for Information Security education. The online course is available via IRC channel only on TOR which takes awhile to setup. Luckily we have a ready to use system Tails OS which can help us to on the IRC channel in a minute.

https://twitter.com/onionirc

Tails OS is a packaged Linux that aims at preserving your privacy and anonymity. You can download the ISO here.

https://tails.boum.org/

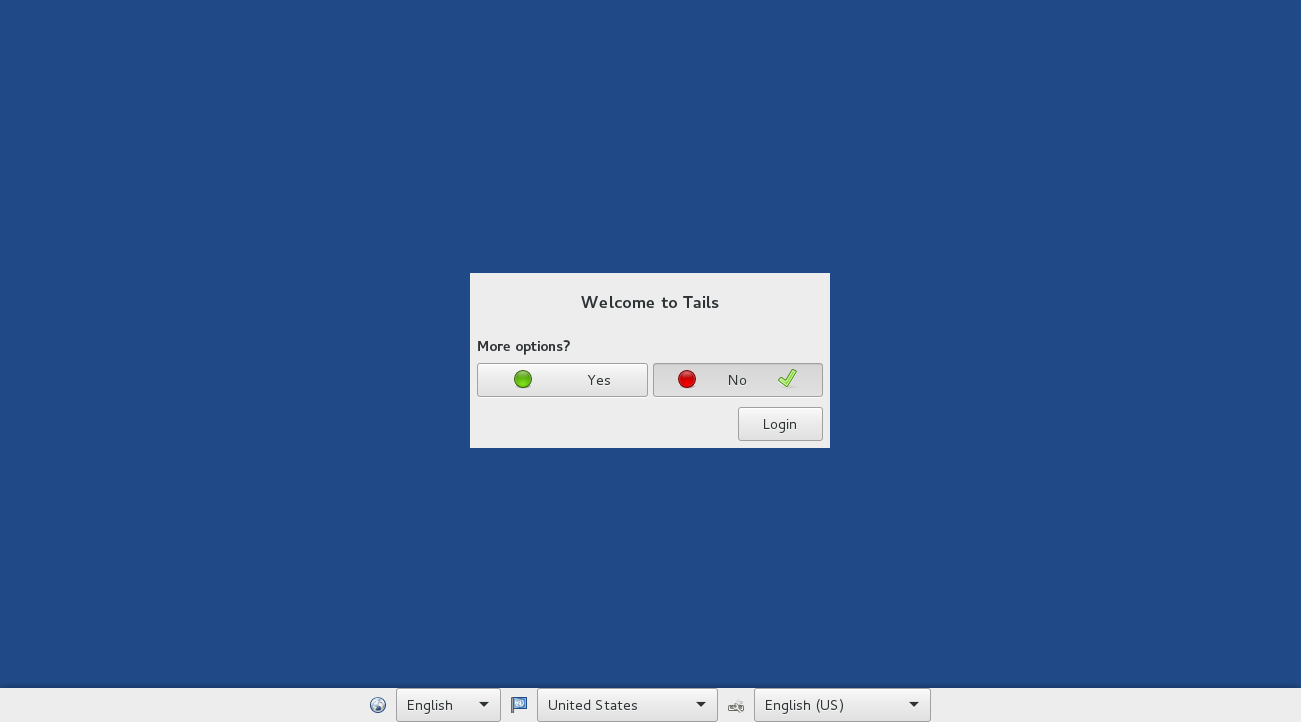
I use Virtual Box to build a VM, boot from the ISO image and then start connect to the IRC channel with Pidgin.

VirtualBox_KaliLinux_23_05_2016_16_02_14

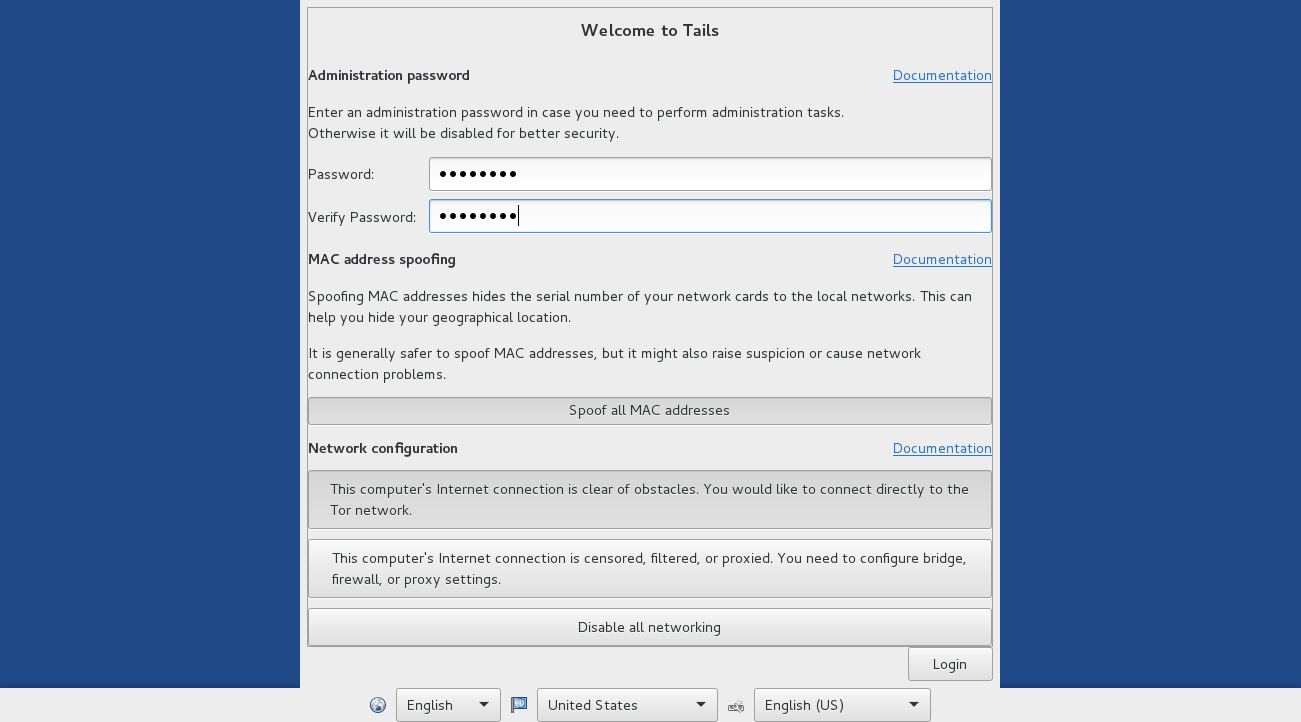
VirtualBox_KaliLinux_23_05_2016_16_02_58

PS. My firewall doesn’t allow spoofing MAC Address, I cannot spoof it here.

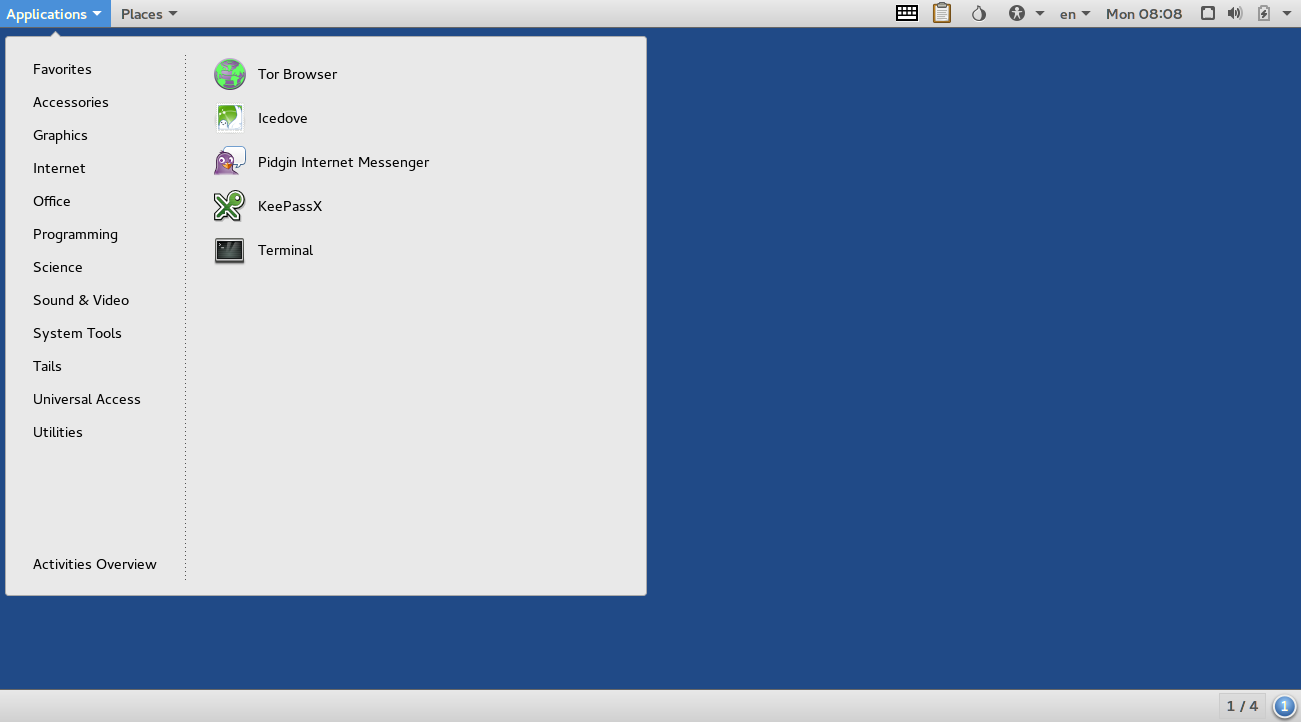
Open Pidgin

VirtualBox_KaliLinux_23_05_2016_16_08_38

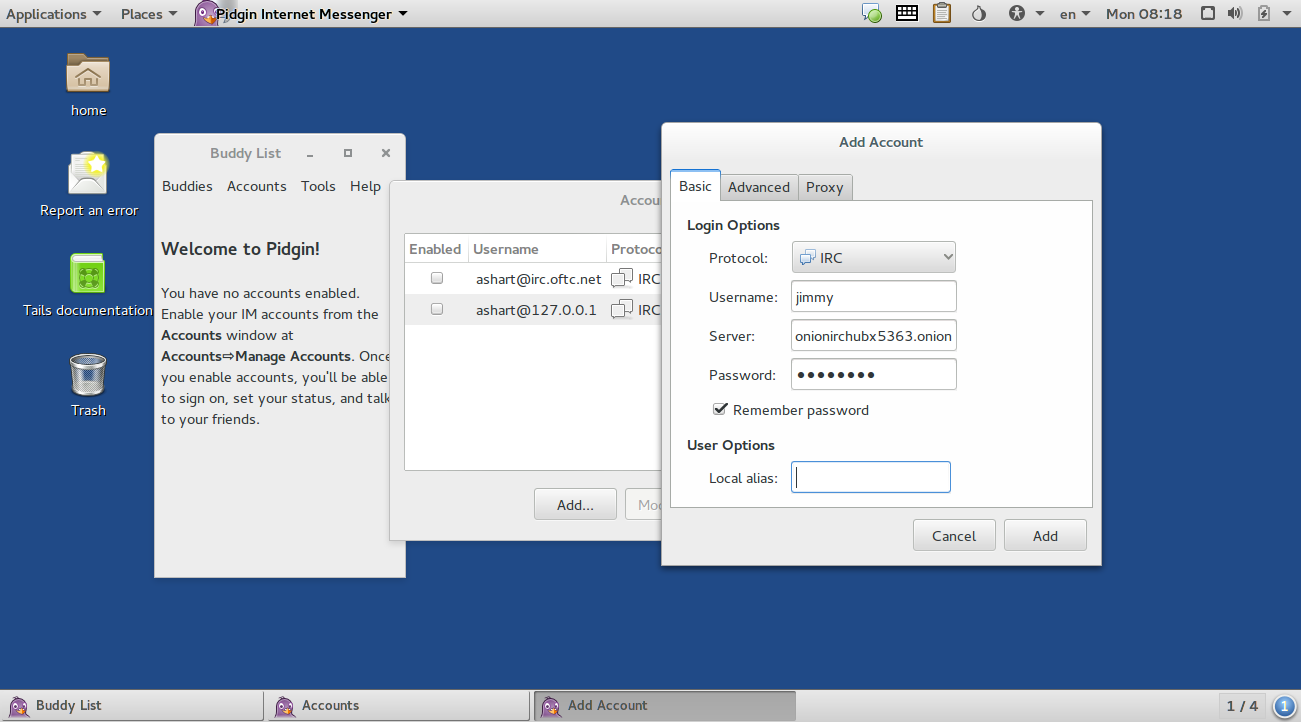
VirtualBox_KaliLinux_23_05_2016_16_18_44

onionirchubx5363.onion:6667

Type /list to list a list of chatrooms

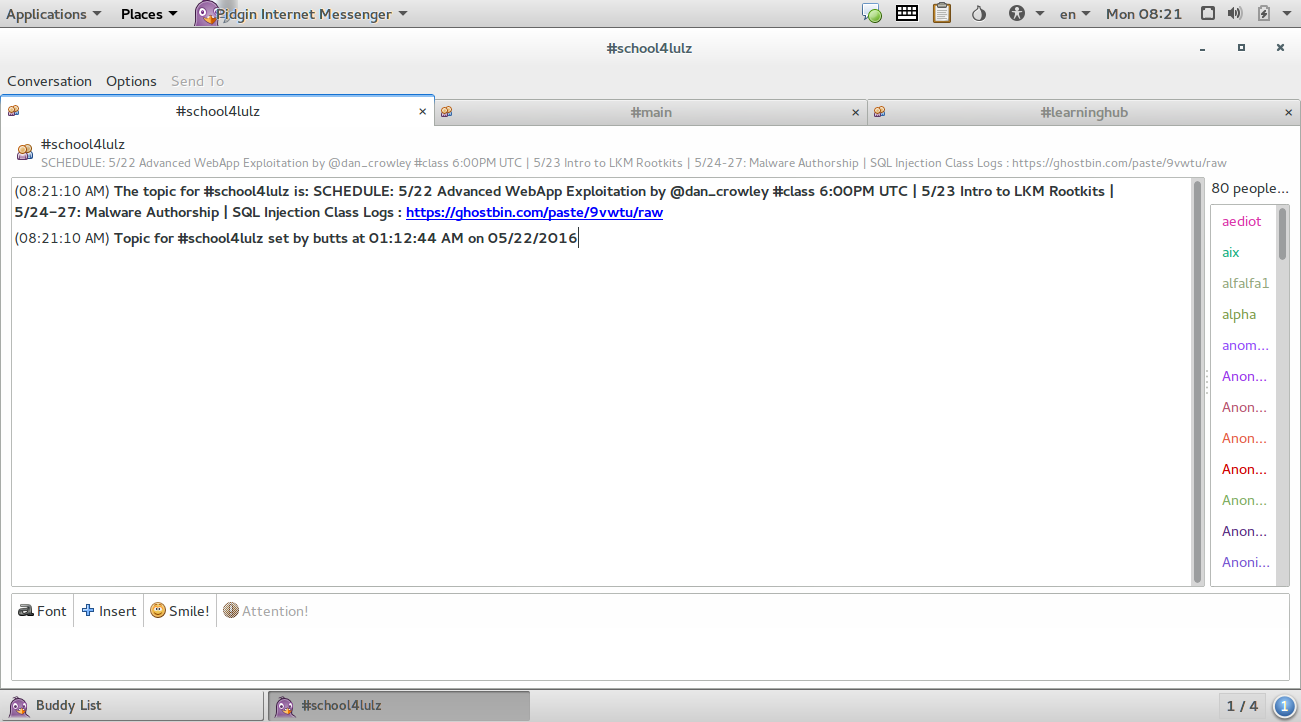
#school4lulz , #main and #learninghub are popular channels.

VirtualBox_KaliLinux_23_05_2016_16_21_35

You are done!

Note on Python virtual env

Installing Python virtual env

sudo apt-get install python3.4-venv

Set a Project with Python virtualenv, venv is a pathname

python3 -m venv venv

Activate the virtualenv

source venv/bin/activate

deactivate the virtualenv

deactivate

Download the .gitignore and Git init

wget https://raw.githubusercontent.com/github/gitignore/master/Python.gitignore -O .gitignore
git init

Export the dependencies

pip3 freeze > requirements.txt

Restore the requirements file

pip3 install -r requirements.txt

Configure Pycharm
Pycharm

PHPStorm debugging on Ubuntu with x-debug

There are plenty of tutorial for configure PHP in Ubuntu. However, it seems there is lacking of a complete guide for PHP Development in Ubuntu, especially for Debugging.

A debugger is definitely the best friend of a developer.

This post will contains the following three parts.

1. Enabling the userdir module in Ubuntu
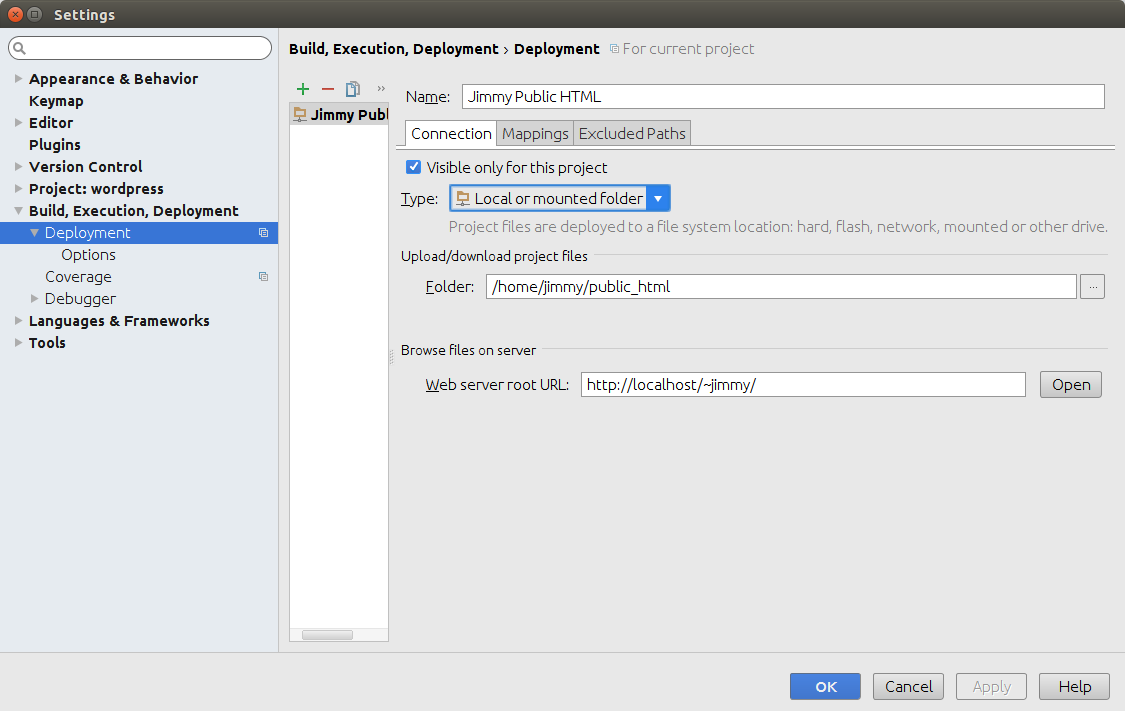
2. Configure PHPStorm to upload to a local directory
3. Enabling XDebug in Apache2

1. Enabling the userdir module in Ubuntu

a. Enable the userdir module

root@jimmy-ubuntu:/etc/apache2/mods-available# a2enmod userdir

b. Enable PHP in the userdir by modifying /etc/apache2/mods-available/php5.ini. By default, userdir is just for placing static files. This is blocked explicitly in php5.ini. So, we have to comment it out.

#<IfModule mod_userdir.c>
#    <Directory /home/*/public_html>
#        php_admin_flag engine Off
#    </Directory>
#</IfModule>

c. Test with phpinfo.php in /home/jimmy/public_html

phpinfo();

d. Use browser to browse http://localhost/~jimmy/phpinfo.php

2. Configure PHPStorm to upload to a local directory

PhpStormUploadtoUserDir

3. Enabling XDebug in Apache2

a. First, we need to install and enable XDebug in Ubuntu

sudo apt-get install php5-xdebug
sudo php5enmod xdebug

b. Modify /etc/php5/apache2/conf.d/20-xdebug.ini to include the following.

zend_extension=xdebug.so
xdebug.remote_enable=1
xdebug.remote_handler="dbgp"
xdebug.remote_host="localhost"
xdebug.remote_mode="req"
xdebug.remote_port=9000
xdebug.idekey="PHPSTORM"

c. Restart Apache2

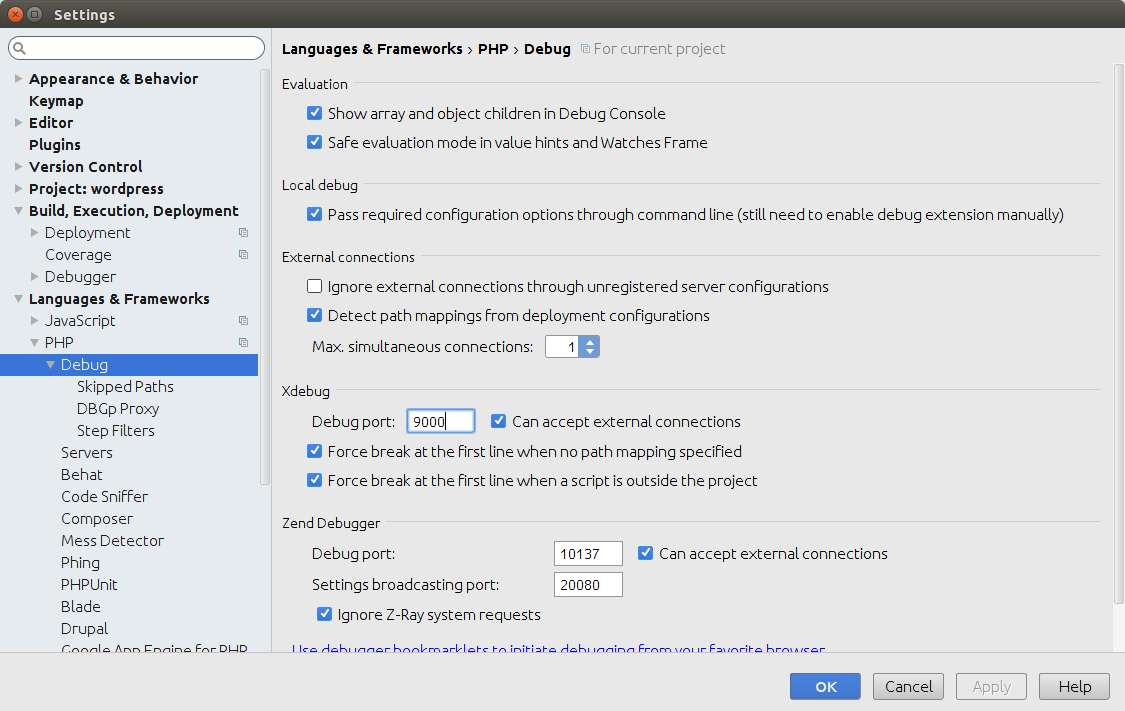
d. In PHPStorm, we need to enable the listening port. By default, it is listening to port 9000.

PHPXDebugPort

e. Next, we need to set the Cookie in the page, XDebug is enabled by the existence of cookie. Use browser developer console to run the following line.

javascript:(function() {document.cookie='XDEBUG_SESSION='+'PHPSTORM'+';path=/;';})()

f. Add a break point in your PHP Code, run the browser. It should break at your break point.

WebGoat – A Security Tutorial

WebGoat is a project by OWASP that uses as lessons for developers to understand common security loop hole.

There is two ways of running that. The first one is simply downloading the bundled WAR file, and it can be run with this command

java -jar webgoat-container-7.0.1-war-exec.jar

The other way is checking out the source code, and run with your favorite IDE. In my case I use IntelliJ

Basically the folder structure is as followed.

WebGoatWS
- WebGoat
- - webgoat-container 
- WebGoat-Lessons

Both WebGoat and WebGoat-Lessons are git repository. They require Maven to run. To run it locally, We need to download the WebGoat and WebGoat-Lessons.

mkdir WebGoatWS
cd WebGoatWS
git clone https://github.com/WebGoat/WebGoat.git
git clone https://github.com/WebGoat/WebGoat-Lessons.git

And then create a Workspace in IntelliJ in WebGoatWS level.

After that, we have to create three maven profile. The equivalent in command line is as followed

cd WebGoat 
mvn install
cd WebGoat-Lessons 
mvn install

After compiling both projects, we need to copy the lessons JARs from WebGoat-Lessons to WebGoat

cp WebGoat-Lesson/target/plugins/*.jar WebGoat/webgoat-container/src/main/webapp/plugin_lessons/

Finally, the app can be started with the following command.

cd WebGoat/webgoat-container
mvn tomcat7:run-war

We can access the App with http://localhost:8080/WebGoat/

Install Docker on Ubuntu

The installation procedure is extracted from Docker official homepage, just for my own reference.

1. Download and install the GPG Key

$ apt-get update
$ apt-get install apt-transport-https ca-certificates
$ sudo apt-key adv --keyserver hkp://p80.pool.sks-keyservers.net:80 --recv-keys 58118E89F3A912897C070ADBF76221572C52609D

2. Add the following line to /etc/apt/sources.list.d/docker.list

deb https://apt.dockerproject.org/repo ubuntu-trusty main

3. Install from Apt

$ sudo apt-get update
$ sudo apt-get install linux-image-extra-$(uname -r)
$ sudo apt-get install linux-image-generic-lts-trusty
$ sudo apt-get install docker-engine
$ sudo service docker start
$ sudo docker run hello-world

4. A docker user group is created, we add a general user to this group, the user can control docker.

$ sudo usermod -aG docker ubuntu
$ shutdown -r now

DNS Resolve over TOR

DNS leak is quite a significant issue to complete anonymous yourself on TOR.

The idea is simple, since TOR doesn’t support UDP, if you are attacking a machine over TOR, you are running the risk that you query the DNS with your real IP while attacking the machine over TOR. A simple time base mapping between the DNS and your server log can identify your real IP. It is really so risky.

Luckily TOR has a Tor-resolve comes to secure.

http://linux.die.net/man/1/tor-resolve

We need to add the following lines in /etc/tor/torrc

DNSPort 53
AutomapHostsOnResolve 1

Next, we have to config the Linux to use 127.0.0.1 port 53 as the DNS Server instead of the one applied by DHCP in /etc/resolv.conf

nameserver localhost

Set the Firefox to use this DNS instead of the client default one

open about:config set network.proxy.socks_remote_dns to true.